How To Build A DIY Lightbox for Stunning Desktop PhotographyHow to build a DIY lightbox for close-up product, jewellery and food photography which require bright, diffused lighting.
A DIY lightbox is a great solution for eBay product photography, still-life photography and macro photography. It provides subtle light diffusion and a uniform background against which to place the object.
High-quality photos are a simple way to attract more buyers, and contrary to what you might think, they don't require thousands of dollars in equipment. With a simple lightbox and some lights, even a decent smartphone camera can take great photos of small-to-medium objects.
There are dozens of tutorials on the internet about making photography lightboxes. After many requests, I decided to make my own and took pictures step-by-step, to share how to make a lightbox.
What You'll Need to Make this DIY Lightbox
- Cardboard box large enough to fit your intended objects in
- Sharp knife
- Ruler
- Spray paint
- 2 litre round drinks bottle
- A4 or A3 white paper, or white cloth
- Lamps
DIY Lightbox Construction

Once you have found a suitable cardboard box, remove the flaps on the open end.

On the top and sides, measure out a border around 3cm

Using a sharp craft knife, cut out the "windows" on the top and two sides.

Spray paint the box in a matt white paint. This will ensure better light distribution inside the lightbox.

Cut the top and bottom out of the drinks can, and cut a quarter segment out of the remaining cylinder. We will use this to eliminate any harsh corners on the background.

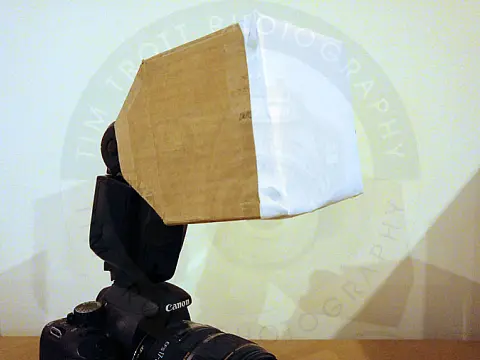
Once the paint is dry, attach the quarter from the bottle to the inside of the box, on the floor and the rear wall. Finally, cover the windows in plain white paper. This will help diffuse the light inside the box, especially if you use a flash.
DIY Lightbox Usage
Line the inside of the box using either plain white paper or coloured paper depending on what is suitable for your subject. Place your object in the centre of the lightbox and position light sources to the left, right and above through the windows. Now you should have a well-lit, bright setup for your product or macro photography.
You can also adjust the type of light and distance to the window to change lighting angles and brightness.
After writing this article I experimented with different types of light. I ended up with 2 flexible metal desk lamps with 100W compact fluorescent natural light (5300K) which is as close to natural light as I could find. These are super bright and you do not get the yellow colour cast that normal bulbs have.
Happy Snapping!


A good picture goes a long way on sites like eBay. You'll be glad you threw this together.